
Harry Potter
My granddaughter is a BIG fan of Harry Potter
so I thought I make her an intarsia gift of her favourite character
 |
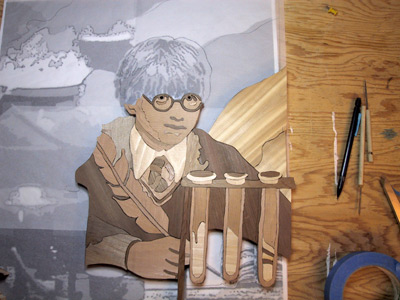
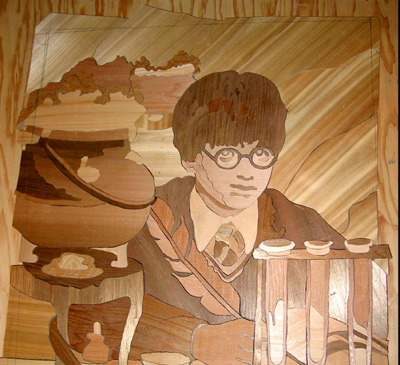
The first step was to make a pattern to guide the cutting of the pieces of wood that make up the intarsia picture.
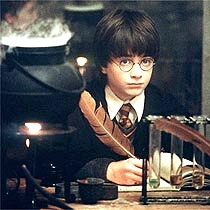
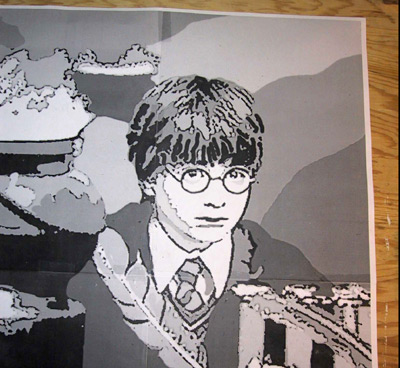
I made the pattern from the picture at the top of this page. It is a picture that I downloaded from the WEB and enlarged in PhotoShop. I converted the picture from colour to grey scale and reduced the number of shades of grey to eight. I enlarged the picture to the required size and printed it. It took four pages to print at the required size and I taped the pieces together to make the pattern. (You can see one of the joints running across the pattern just above the test tubes.) |
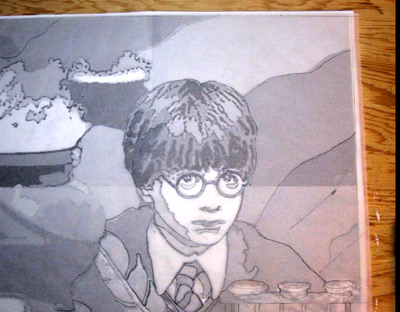
| I
then got a piece of tracing paper to lay over the pattern. I traced the
outline of the areas of the pattern that I wanted as separate pieces of
wood for the picture.
For example, Harry's shoulder on the right side of this picture has two pieces: one that outlines his shoulder above the test tubes, and one that makes a sort of lapel next to his shirt. The tracing paper is then placed over the piece of wood to be cut and the outline transfered using carbon paper. |
 |
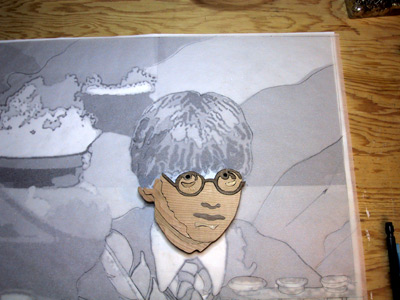 |
I started working at the centre - the face.
So far, I have cut out 13 pieces to make up the ear, neck, face (with glasses and eyes.) The eyes are a part of the glases with a dark centre added as the iris. |
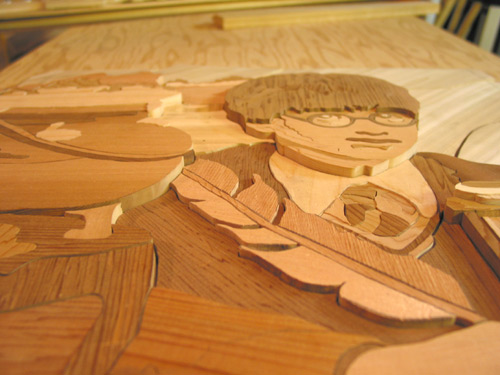
| At this stage, about one-third of the picture is finished. Harry is almost complete and the test tubes in the rack are done.
I've started to cut out the background pieces at this time. |
 |
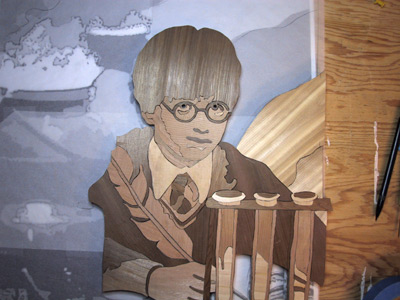 |
Harry is almost complete at this stage. The only pieces left to cut are the inserts for the hair that will complete the highlights. |
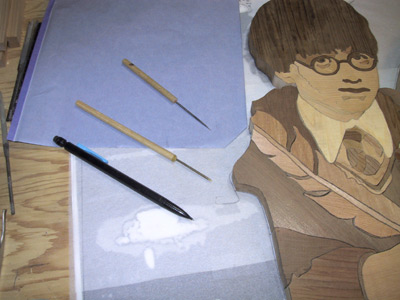
| These are the tools that I used to transfer the cutting lines from the tracing paper to the wood to be cut.
The pencil and the carbon paper are easily recognizable, but the other two tools I make especially for intarsia work. The top tool is a darning needle glued into a dowel handle. The middle tool is a piece of brass rod, glued into a dowel. I sharpended the brass rod and then pounded it flat to give me a pointed stylis that is bigger than the needle. Both these tools are used to make very fine lines when tracing the pattern. |
 |
 |
The
picture is constructed entirely of western red cedar. The different
coloured pieces were layed out on a piece of plywood so I could select
the best piece for the picture.
You can see the light and dark pieces of cedar, several with pieces cut out of them. |
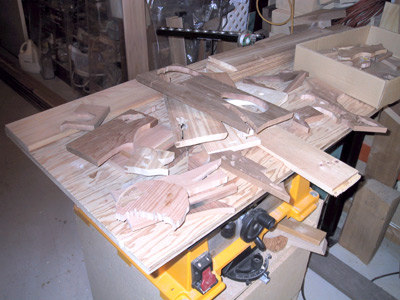
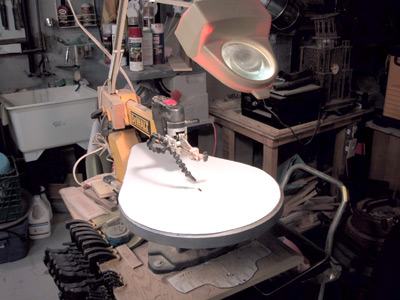
| This is the scroll saw that I used to cut all the pieces for the Harry Potter picture
It is a variable-speed, DeWalt 20" saw. I added the magnifying lamp to the saw to help with small cuts. |
 |
 |
Here is the picture with all the pieces cut and in place. All the pieces are sitting on a backing piece of plywood.
The next step is to raise some of the foreground pieces from the background. |
| Elements of the pictures were relieved or raised from the backgound by cutting varying thicknesses of wood to place under them.
Once all of the levels are set at their final state, the pieces of wood are all rounded and sanded. |
 |
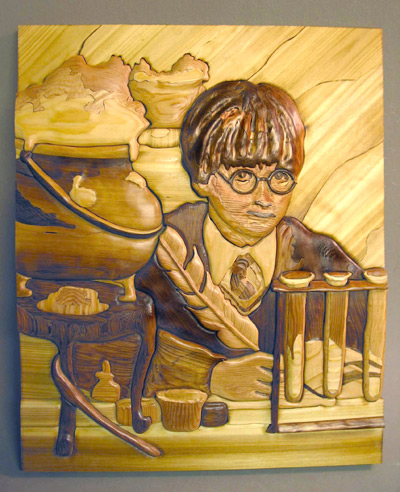 |
The pieces are all rounded, sanded and covered with tung oil.
The finished picture looks something like a relief carving. The picture is enhanced by the various colours of the cedar. |