Feather Texture with a Burning Pen
When I texture with a stone, I work from the rear to the front. Texturing with the pyrographic
is done from the front to the back. This process works for me and I am most comfortable
doing this way.
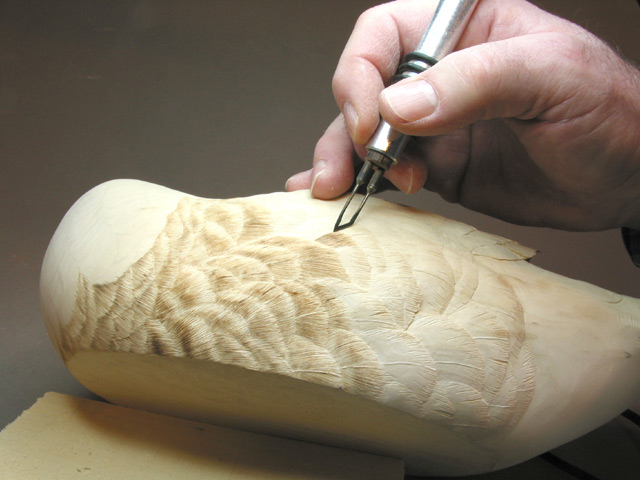
I use a Detail Master pyrographic pen and have done so for years. It has a reostat control that
lets me control the heat at the tip. I use a faily low temperature as this permits me to burn the lines
reasonably close together. The heat of the pen dissipates as it is drawn through the wood
making the line dark and distinct where I start and light at the end of the stroke. It gives
the appearance of light edges on the feathers in the above picture
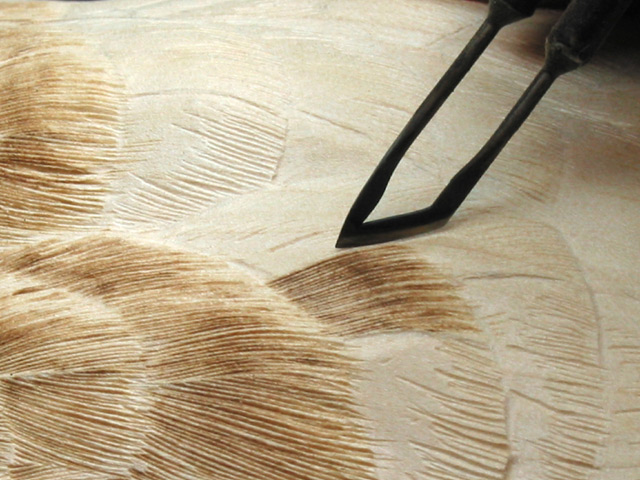
A close up of a feather being burnt. I place the tip of the burner against the edge of the feather
in front of the one I'm working on. I try to vary the start point of the line to break up any
hard edge of the previously burnt feather. You can see an example of this at the junction of the
two feathers in the lower right of the photo.
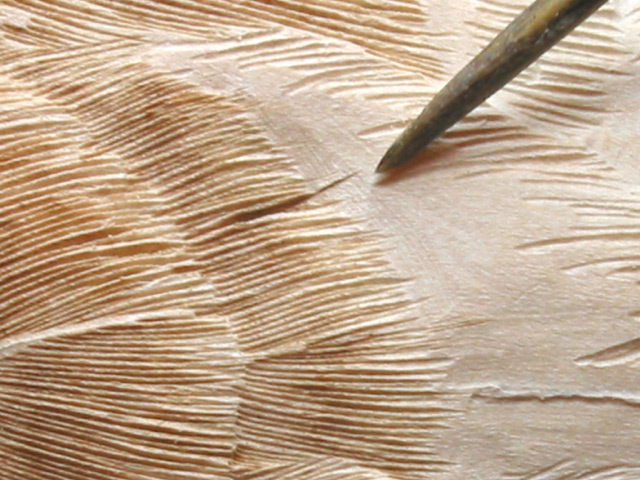
I also use the burning pen to put in some subtle feather splits. I do this by placing the tip of the burning pen
in place, lowering the heel (see the picture above for the shape of the pen tip) and wiggling the heel
a bit from side to side. It is amazing how well the small splits show up when the bird is painted.
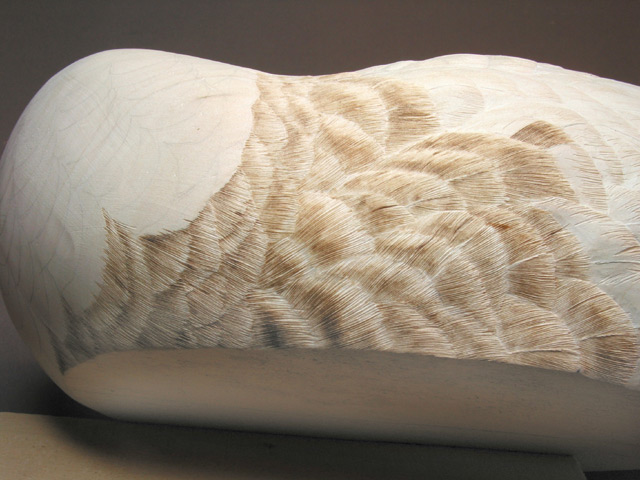
The burning is well underway on this side. Now on to the other side, the breast and the wing coverts. This is
longest part of the carving/texturing process!
Note the transition area between the breast and the side pockets. There are some major
colour changes in this area and it helps to have well defined feathers to aid in the painting.